CTMH Rock Around the Block Blog Hop
Close to My Heart has a great campaign starting!  You can go here for all the details.  A large group of consultants have gotten together to create this blog hop to show you some of the many things that you can do with the new Collage Cubes and Exclusive Rock Around the Block E-size stamp set.  The blog makes a circle so if you are starting here, continue until you make your way back and you will have completed the hop.  If you have already started, you should be coming from Diana’s Blog.
Supplies used are all Close to My Heart unless otherwise noted: My Creations Collage Cubes, Art Philosophy Cricut Cartridge by CTMH, Provocraft Cricut George Cartridge, Hot Diggity stamp set, Little Boys stamp set, Birthday Boy stamp set, Chairs to You stamp set, Daydream stamp set, Wonderland stamp set, Baby Impressions stamp set, Christmas Greetings stamp set, Harvest Happiness stamp set, Aspiration stamp set, Pair-a- Phrase stamp set, Fun Times stamp set, In the Wild stamp set, Life’s a Jungle stamp set, Ink (Smokey Plum, Cranberry, Baby Pink, Heavenly Blue, Outdoor Denim, Petal, Smoothie, Olive, Grey Flannel, Holiday Red, Sky, Brown Bag, Indian Corn Blue, Cotton Candy, Goldrush, Grey Wool, Topiary, Chocolate, Sorbet, Autumn Terricotta, Pear, Pacifica, Sunny Yellow, and Lagoon), White Daisy cardstock, Tulip cardstock, multiple colors of cardstock from my stash of scraps, Splendor Paper Packet, and Mod Podge by Plaid.
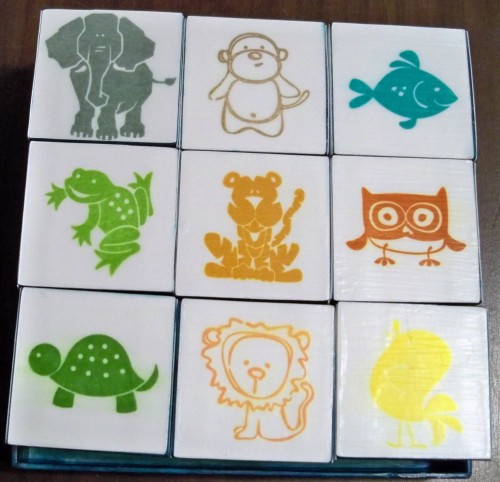
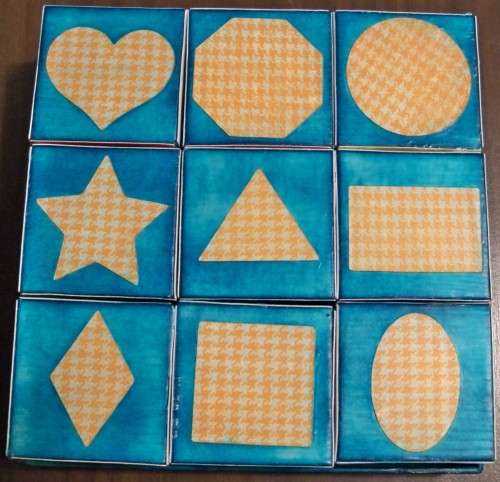
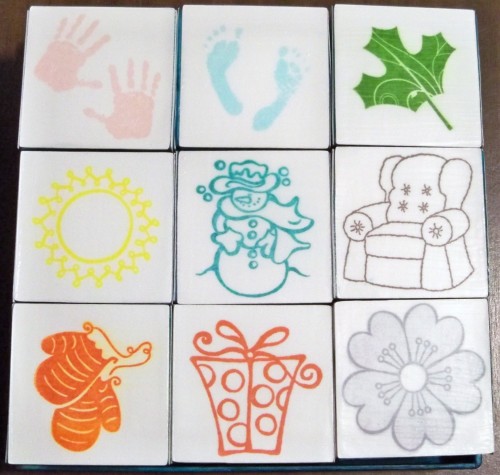
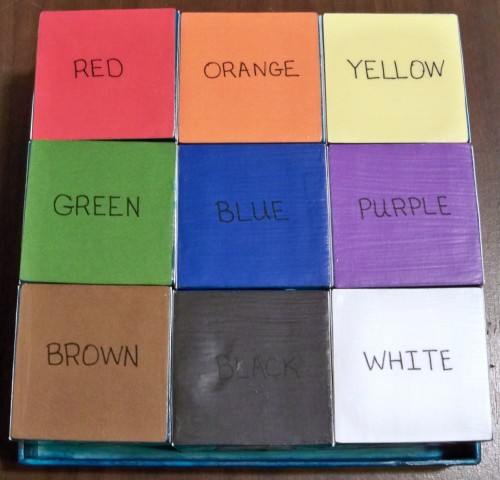
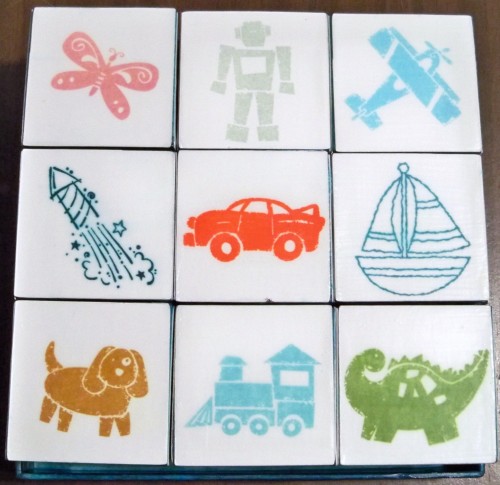
When I saw these fun blocks, I knew I wanted to make a set for my one-year-old.  It was just a matter of coming up with different things to put on it.  You can see from the pictures what I chose.  Other options would be….picture of baby and family/friends/pets….since there are (9×6) 54 sides you could use 26 for the letters of the alphabet, 0-9 for numbers, 9 for shapes, and 9 of anything else of your choice.  I am looking forward to doing another one of these with photos!
I started off by first sponging the all the cubes and the tray with Pacifica ink (yes, a very messy job!).  When I used the Mod Podge on the inked surface the color came off onto my brush.  I tried putting a coat of Mod Podge over everything before moving on.  It helped, but not completely.  I would recommend not using ink to sponge your blocks.  If I had it to do over again I would have left them white or used acrylic paint.  So, lesson learned and passed on to you. 🙂  Doing it over again, I also would not stamp all the images.  I like to Mod Podge overtop of projects like this and some of the ink smeared because I used dye-based inks.  You can see this on the turtle and the mittens.  So….I’d recommend using pigment inks or I’d use stickers or diecuts.
Decorating these cubes made me want to pull out a bunch of others that I have sitting around that I haven’t gotten to working with yet.  Now that I’ve learned some things the next set should be easier.  I’m going to put more of these on my to-do list for the new year.
Thanks for stopping.  Now, move on to Michelle’s Blog!
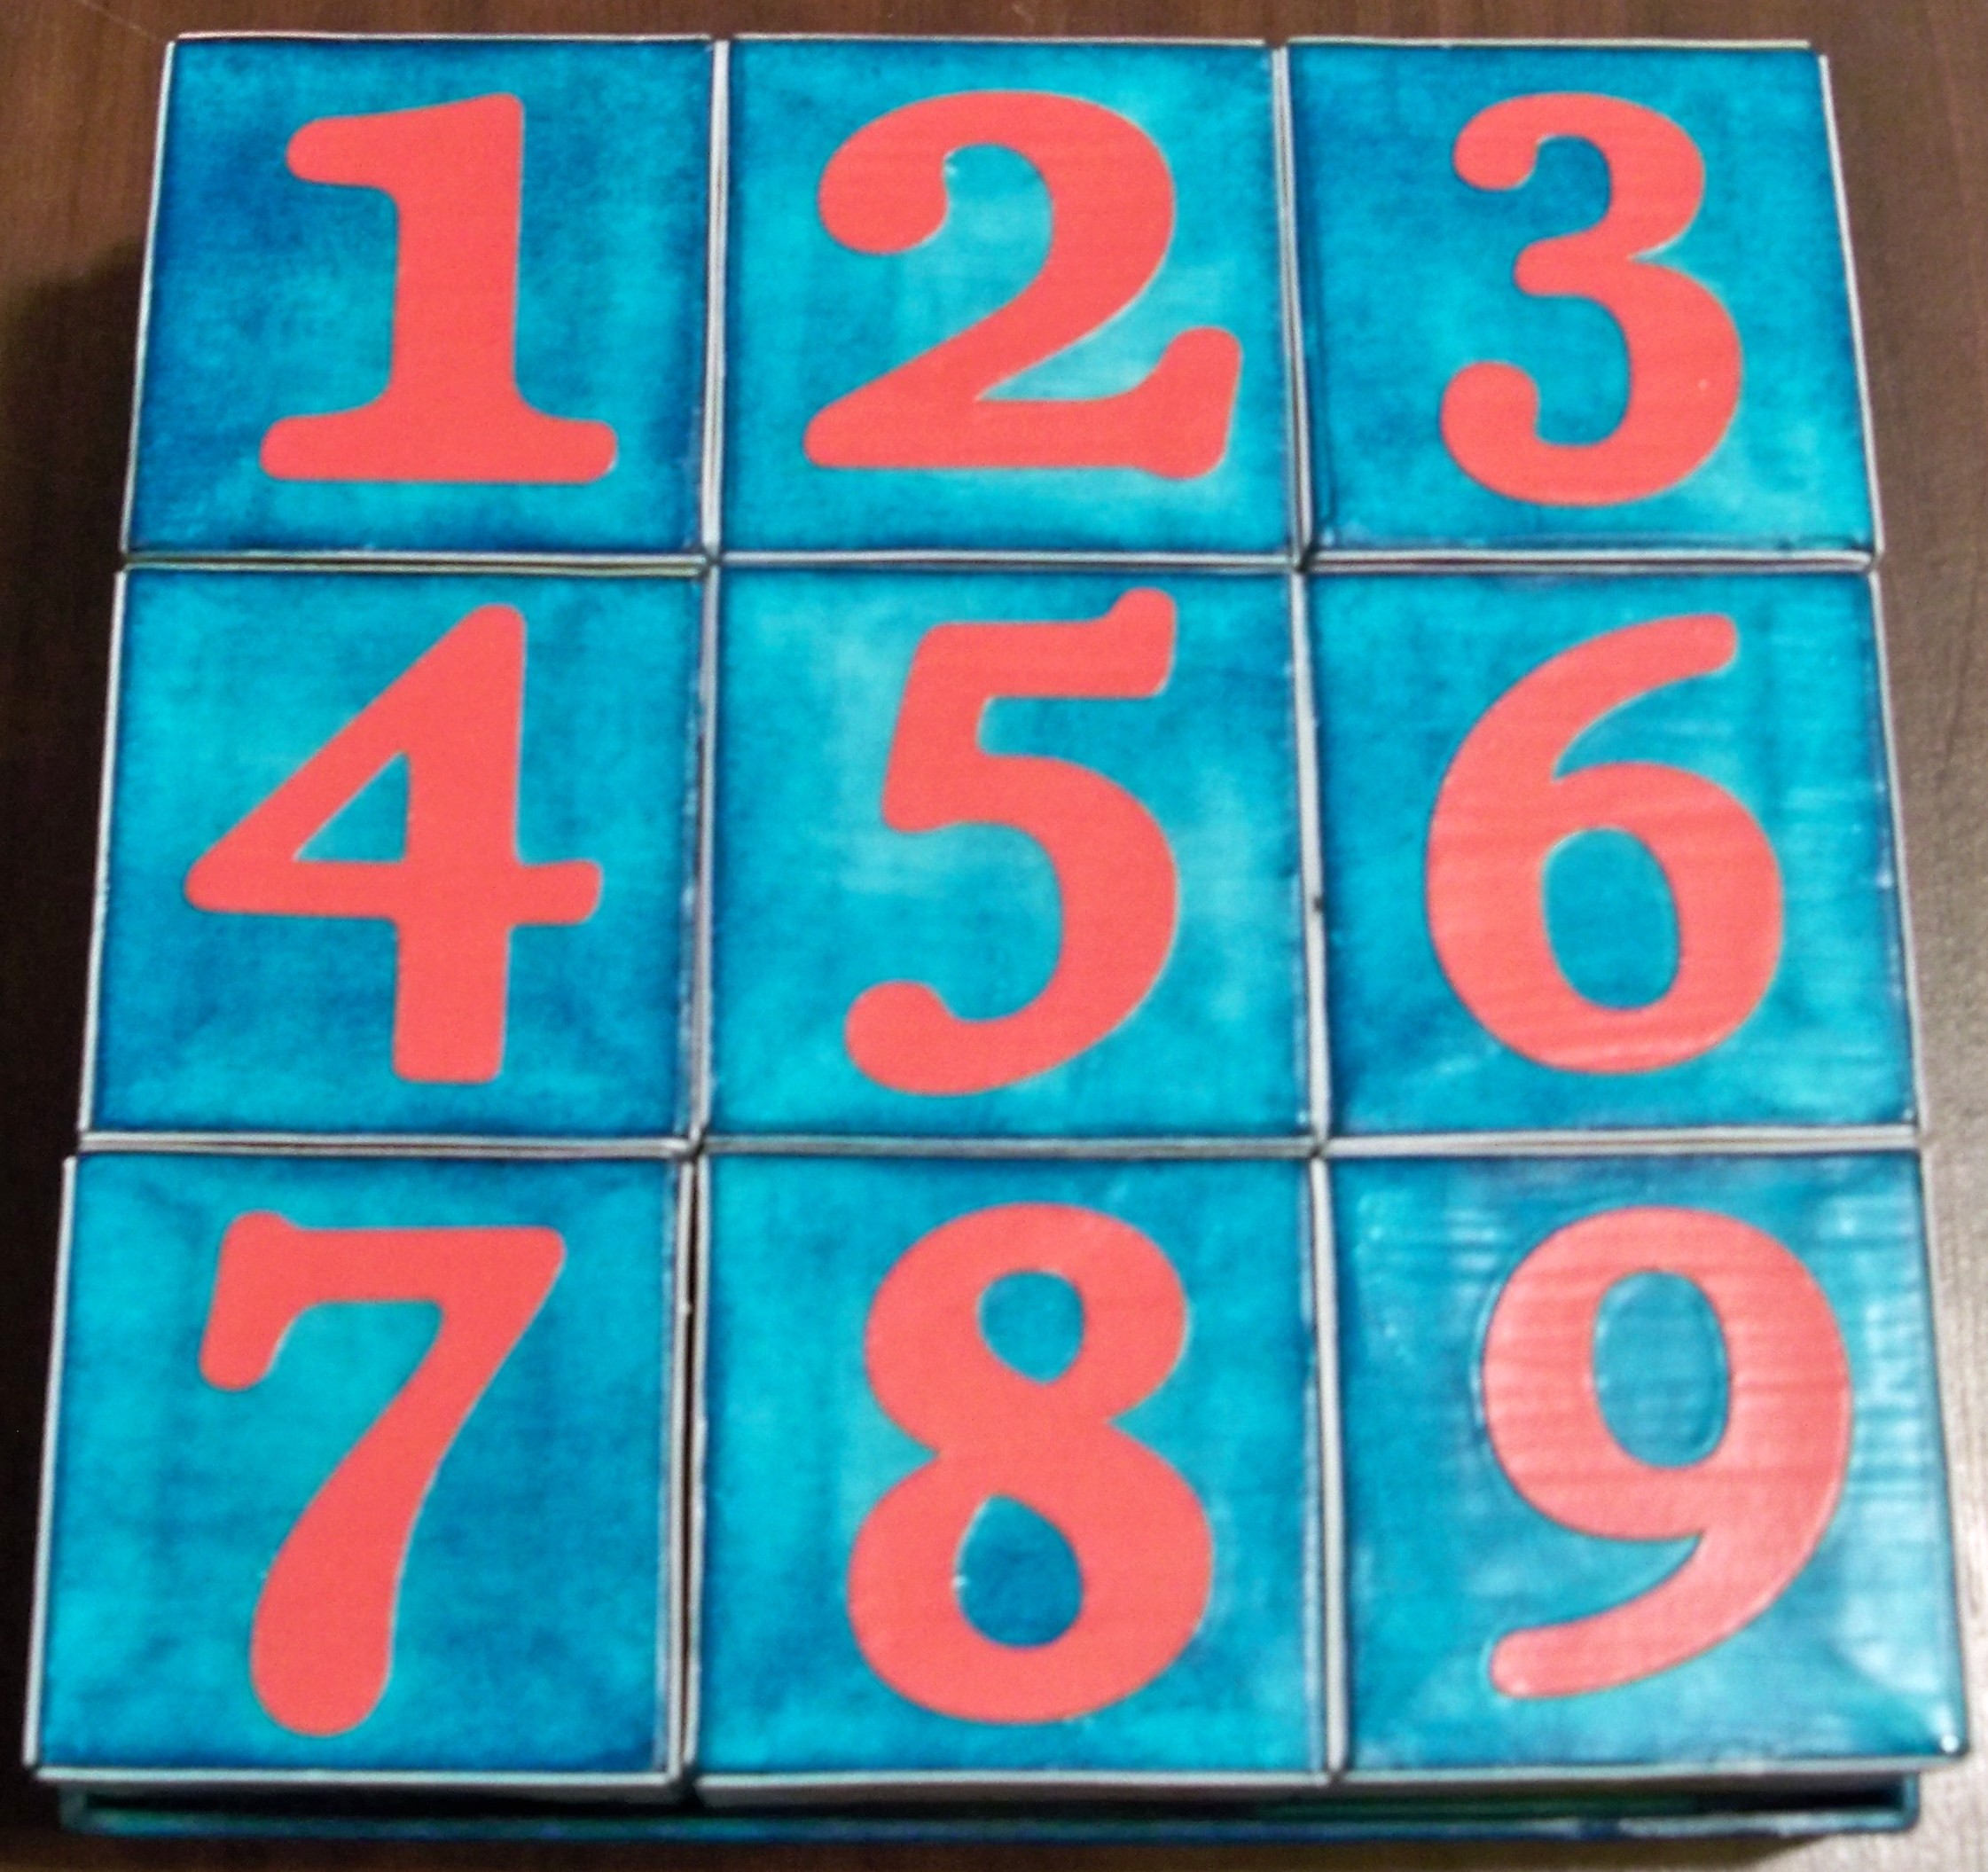
What a cute idea! LOVE IT!
Wow, great idea to use this as teaching blocks for children! Love it!
What a great idea and such fun!!
What a great learning tool for kids!
Great job on these blocks! I bet your little one will love them.
cute idea and thanks for all the tips
Great idea for these blocks!
Great way to use the different sides of the cubes. Really love the one with all the different animals.
Oh my gosh so cute and very clever:)
Very kid friendly! Thank you for sharing
Great project! Thanks for sharing.
Very fun!
What a cute idea!
~doreen at whereisyourhappyplace.blogspot.com
Good to know tips! Not sure what I am doing yet…
What a fantastic project! I’d love to make something similar for my 2 year old grandson. One face of blocks would have small pics of all of his family members so he could name them. Thanks for inspiring me! I also appreciate your suggested tips at the end of the post….
🙂 Marie Flayer in NJ