Altered Frames
I absolutely love how these frames turned out and they are just what I wanted to display in my scrapbook room. I made one for each of my daughter’s with some of my favorite pictures of them. They each helped choose the paper for their frame. The frames have an easel on the back and a hook for hanging. I have mine hung because I need all the extra desk space I can get in my scrapbook room. They do hang out a bit from the wall because of the easel. The frames are Bare Elements by Creative Imagination and I can’t wait to try more of their products.
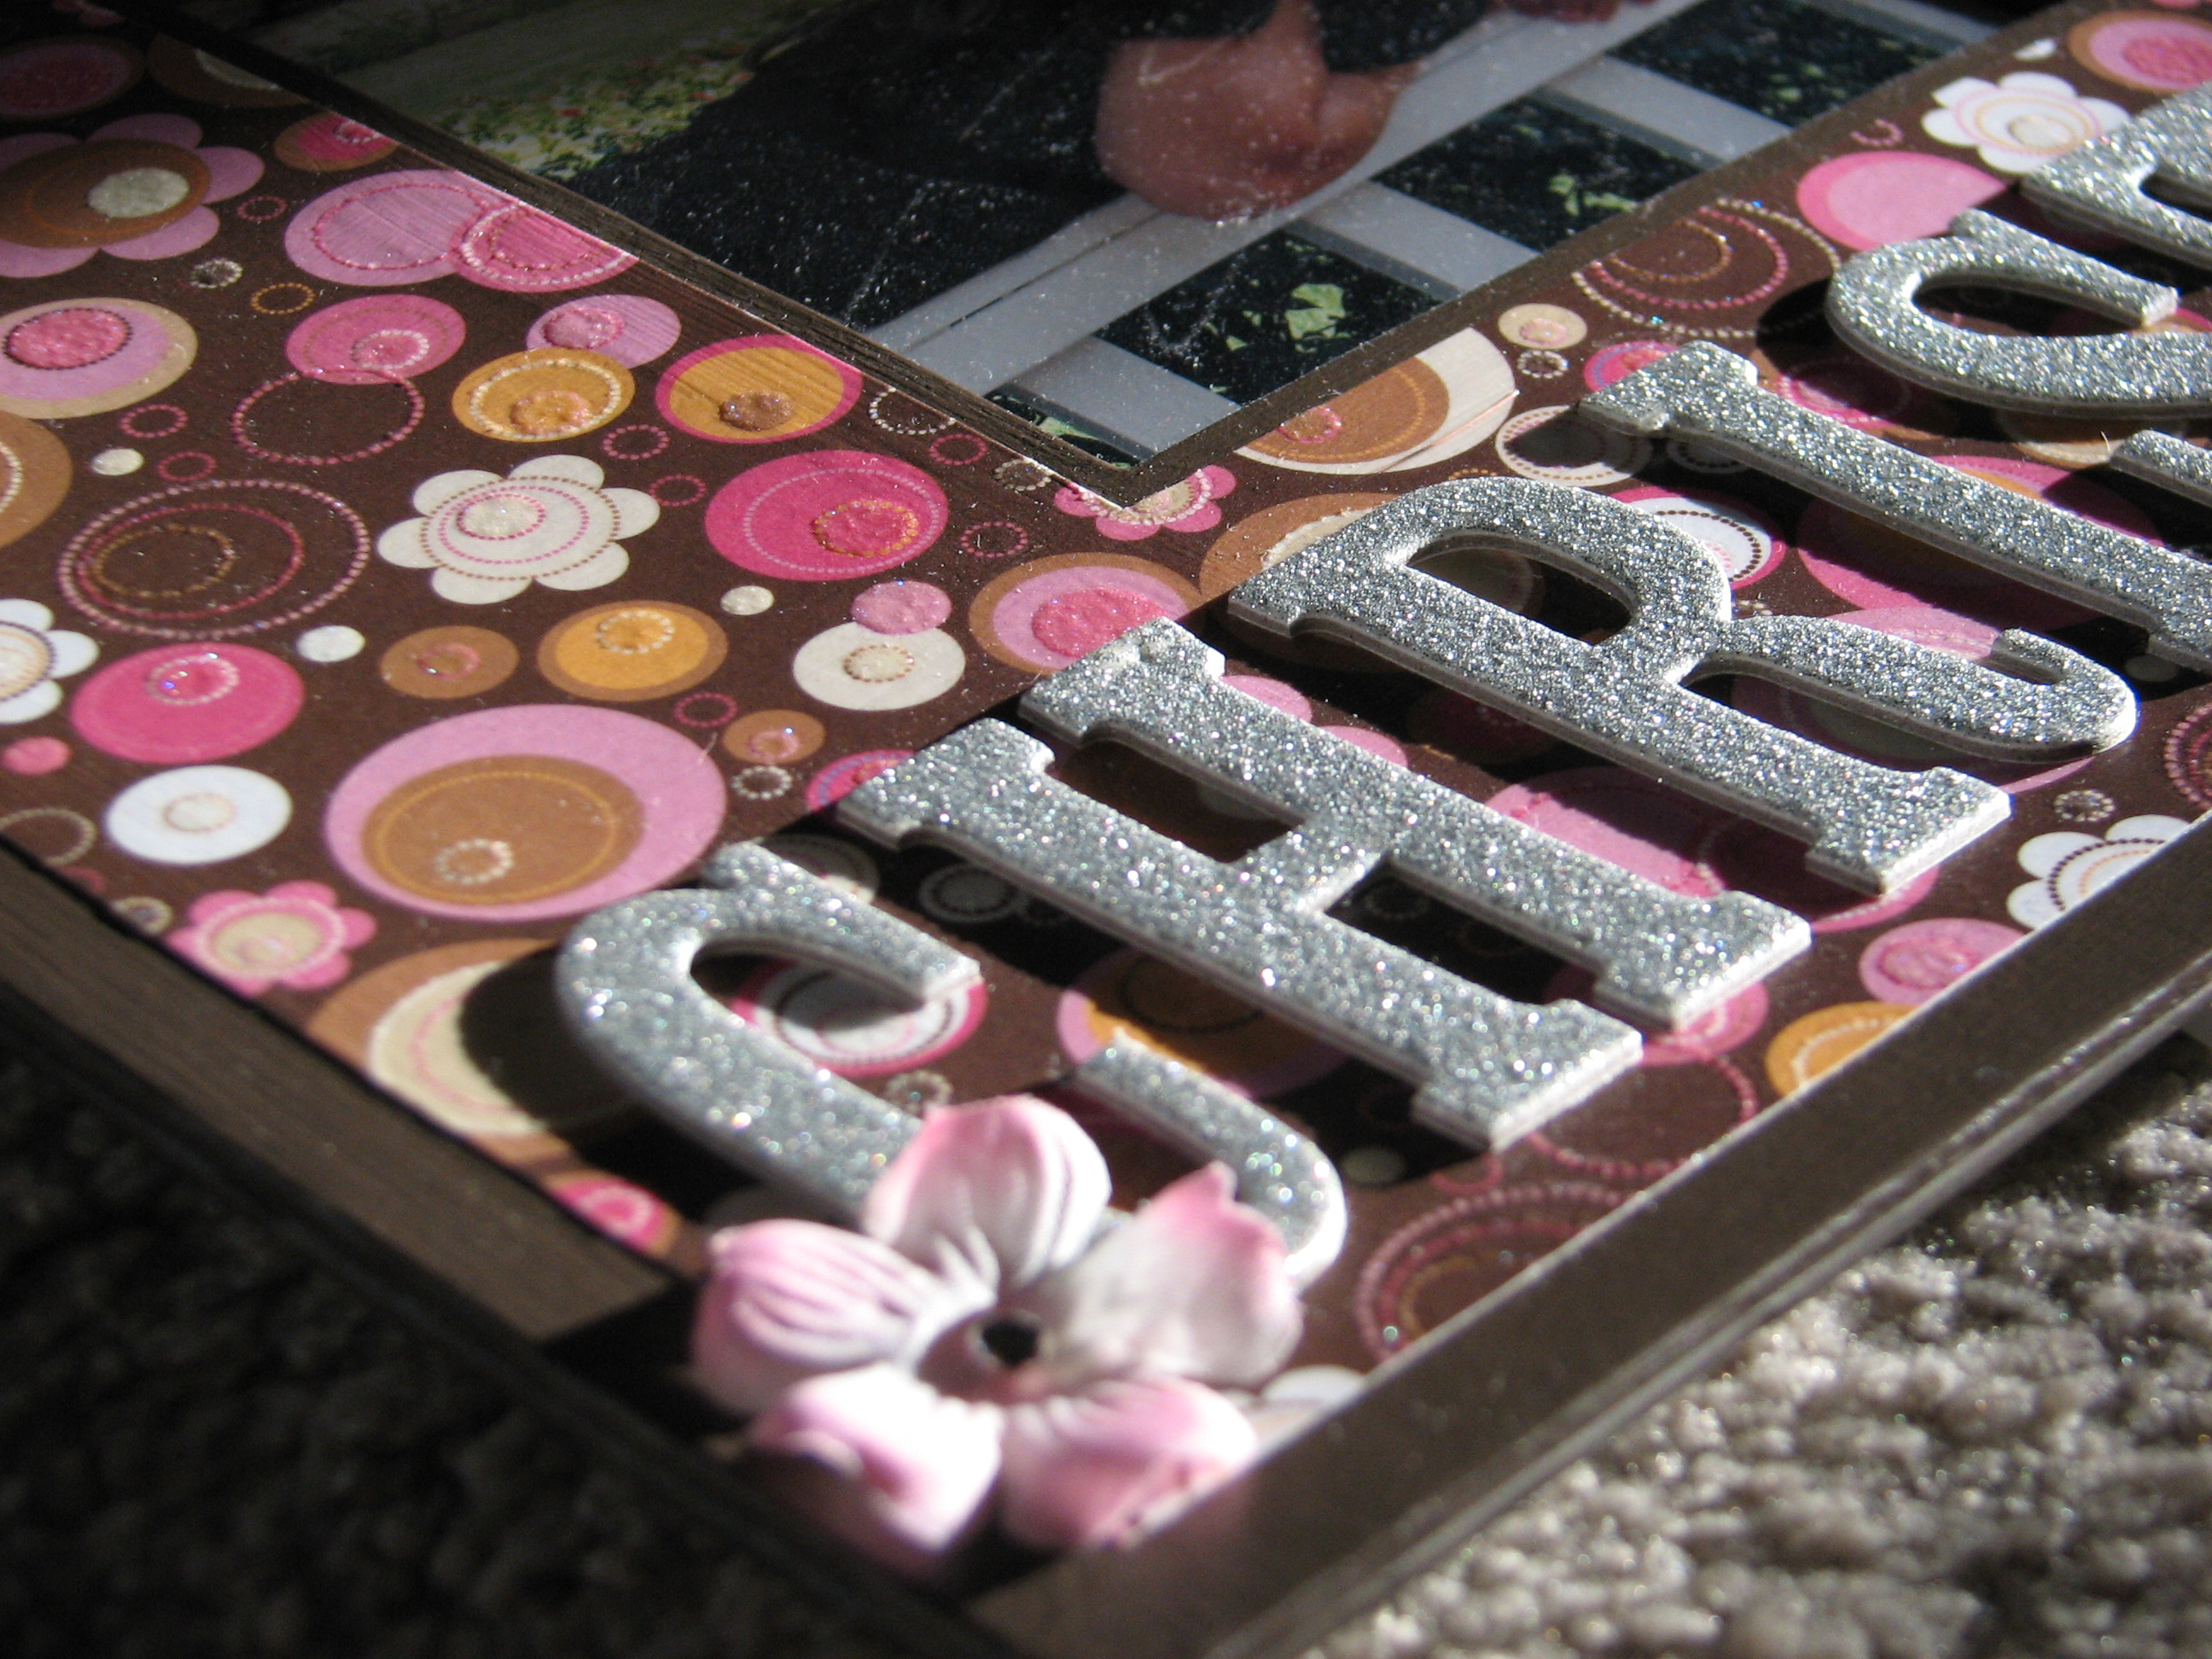
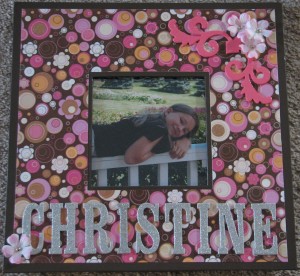
For Christine’s frame, I used Making Memories acrylic paint (chocolate) and painted the edges of the frame (under the paper is white, no need to waste). Next I cut the patterned paper to fit the frame, marked the center square on the back and used an exacto knife to cut out the center. This takes a bit of measuring. The paper is Die Cuts With a View from the Glitter Stack. It adds a lot of sparkle and dimension on it’s own, which was perfect for this project. Next, I adhered the paper and her name. I used Mod Podge (I prefer matte) as my adhesive and also added a coat to the top to protect it. Note: When using Mod Podge, apply in thin coats and be sure to let the bottom coat (under your paper) dry before applying a coat overtop. The letters are Silver Glitter Alphabet Chipboard by K&Co. The glitter was coming off some of the letters so I sealed them with a layer of Mod Podge and it worked like magic. I painted the chipboard flourish with MM paint (capri) and added a couple coats of MM Specialty Glaze – Glitter. It’s hard to see from the photo but it adds a nice extra touch. I finished it off with the flowers using silver brads in the center and adhering with glue dots.
For Steph’s frame I left the outside white, which is how it comes. This eliminated the first step of painting. The paper again is DCWV and I painted the flourish using MM (sky) paint and the glitter glaze. I wish I knew what these chipboard letters are because the glitter on them is sealed very well and I really like them. If you recognize them please let me know. The brad in the center of the flower is a Bazzill Really Big Brad. I rubbed it on a glue pad and then sprinkled glitter over it. After that was dry I added a coat of Mod Podge overtop to seal it.
