Flower Bouquet using the Cricut
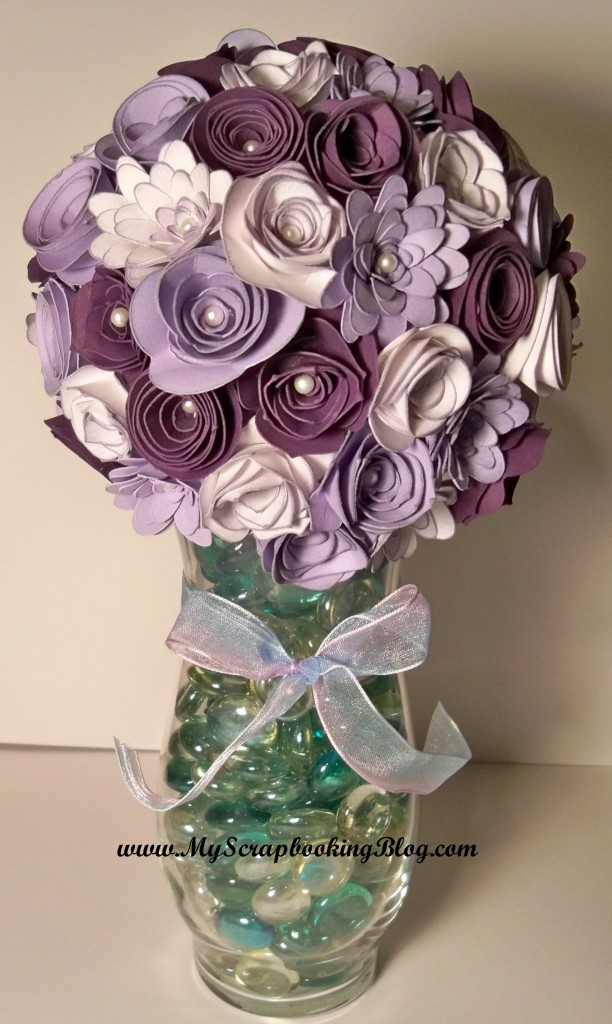
What a busy day it’s been creating this paper flower bouquet! It is a gift for my husband’s grandma who is recovering from surgery.  Shhh! Because I haven’t delivered it yet!  The vase and pebbles were found at the Dollar Tree and pearl-tipped pins from Michael’s. Flowers are attached with the pearl-tipped pins which are then stuck into a foam ball that sets on top of the vase.  I did go through more than one roll of glue dots (used to hold the flowers together).  I’d say if you don’t count the time it involves it’s equal to a vase of real flowers except this will last forever.  And it was more fun too. 🙂
The flowers are cut using the CTMH Art Philosophy Cricut cartridge (scroll down and click the “Shop Cricut” link).  I love the variety and am so glad I tried them all out.  This is a sample of 5 out of the 6 flowers you can cut from this cartridge only because I have one of those new (non-sticky) Cricut mats and the 6th flower just wasn’t cutting well.  I’m guessing the ball is about 4″, the vase is about 6″ tall, and I cut all the flowers at 3 inches.  As a result, there are about 60-70 flowers total.  I’ve got some left over and I’m thinking of making a card to go with it.  Maybe that can be tomorrow’s project. I hope this inspires you to create your own paper flower bouquet!


Wendy, this bouquet is absolutely stunning! I can’t imagine all the work that went into it, but she will enjoy it so much!
Wendy, this is soooo lovely! She will love it and it will keep! :0)
Beautiful.
This is beautiful! I’m new to using my cricut and am wondering if you used a special paper or material to make the flowers.
Kelly,
I just used Close to My Heart cardstock as the paper for the flowers so any heavy-weight cardstock-type paper will work. Since this project, I’ve made more flowers and have learned that you can use a pencil (or similar object) to “round” the petals before rolling up the flower. I also really like to ink the petals before rolling. It is more work but it really pays off in the look of the final project.
Thanks Wendy!