Sweet Sixteen Candy Cake
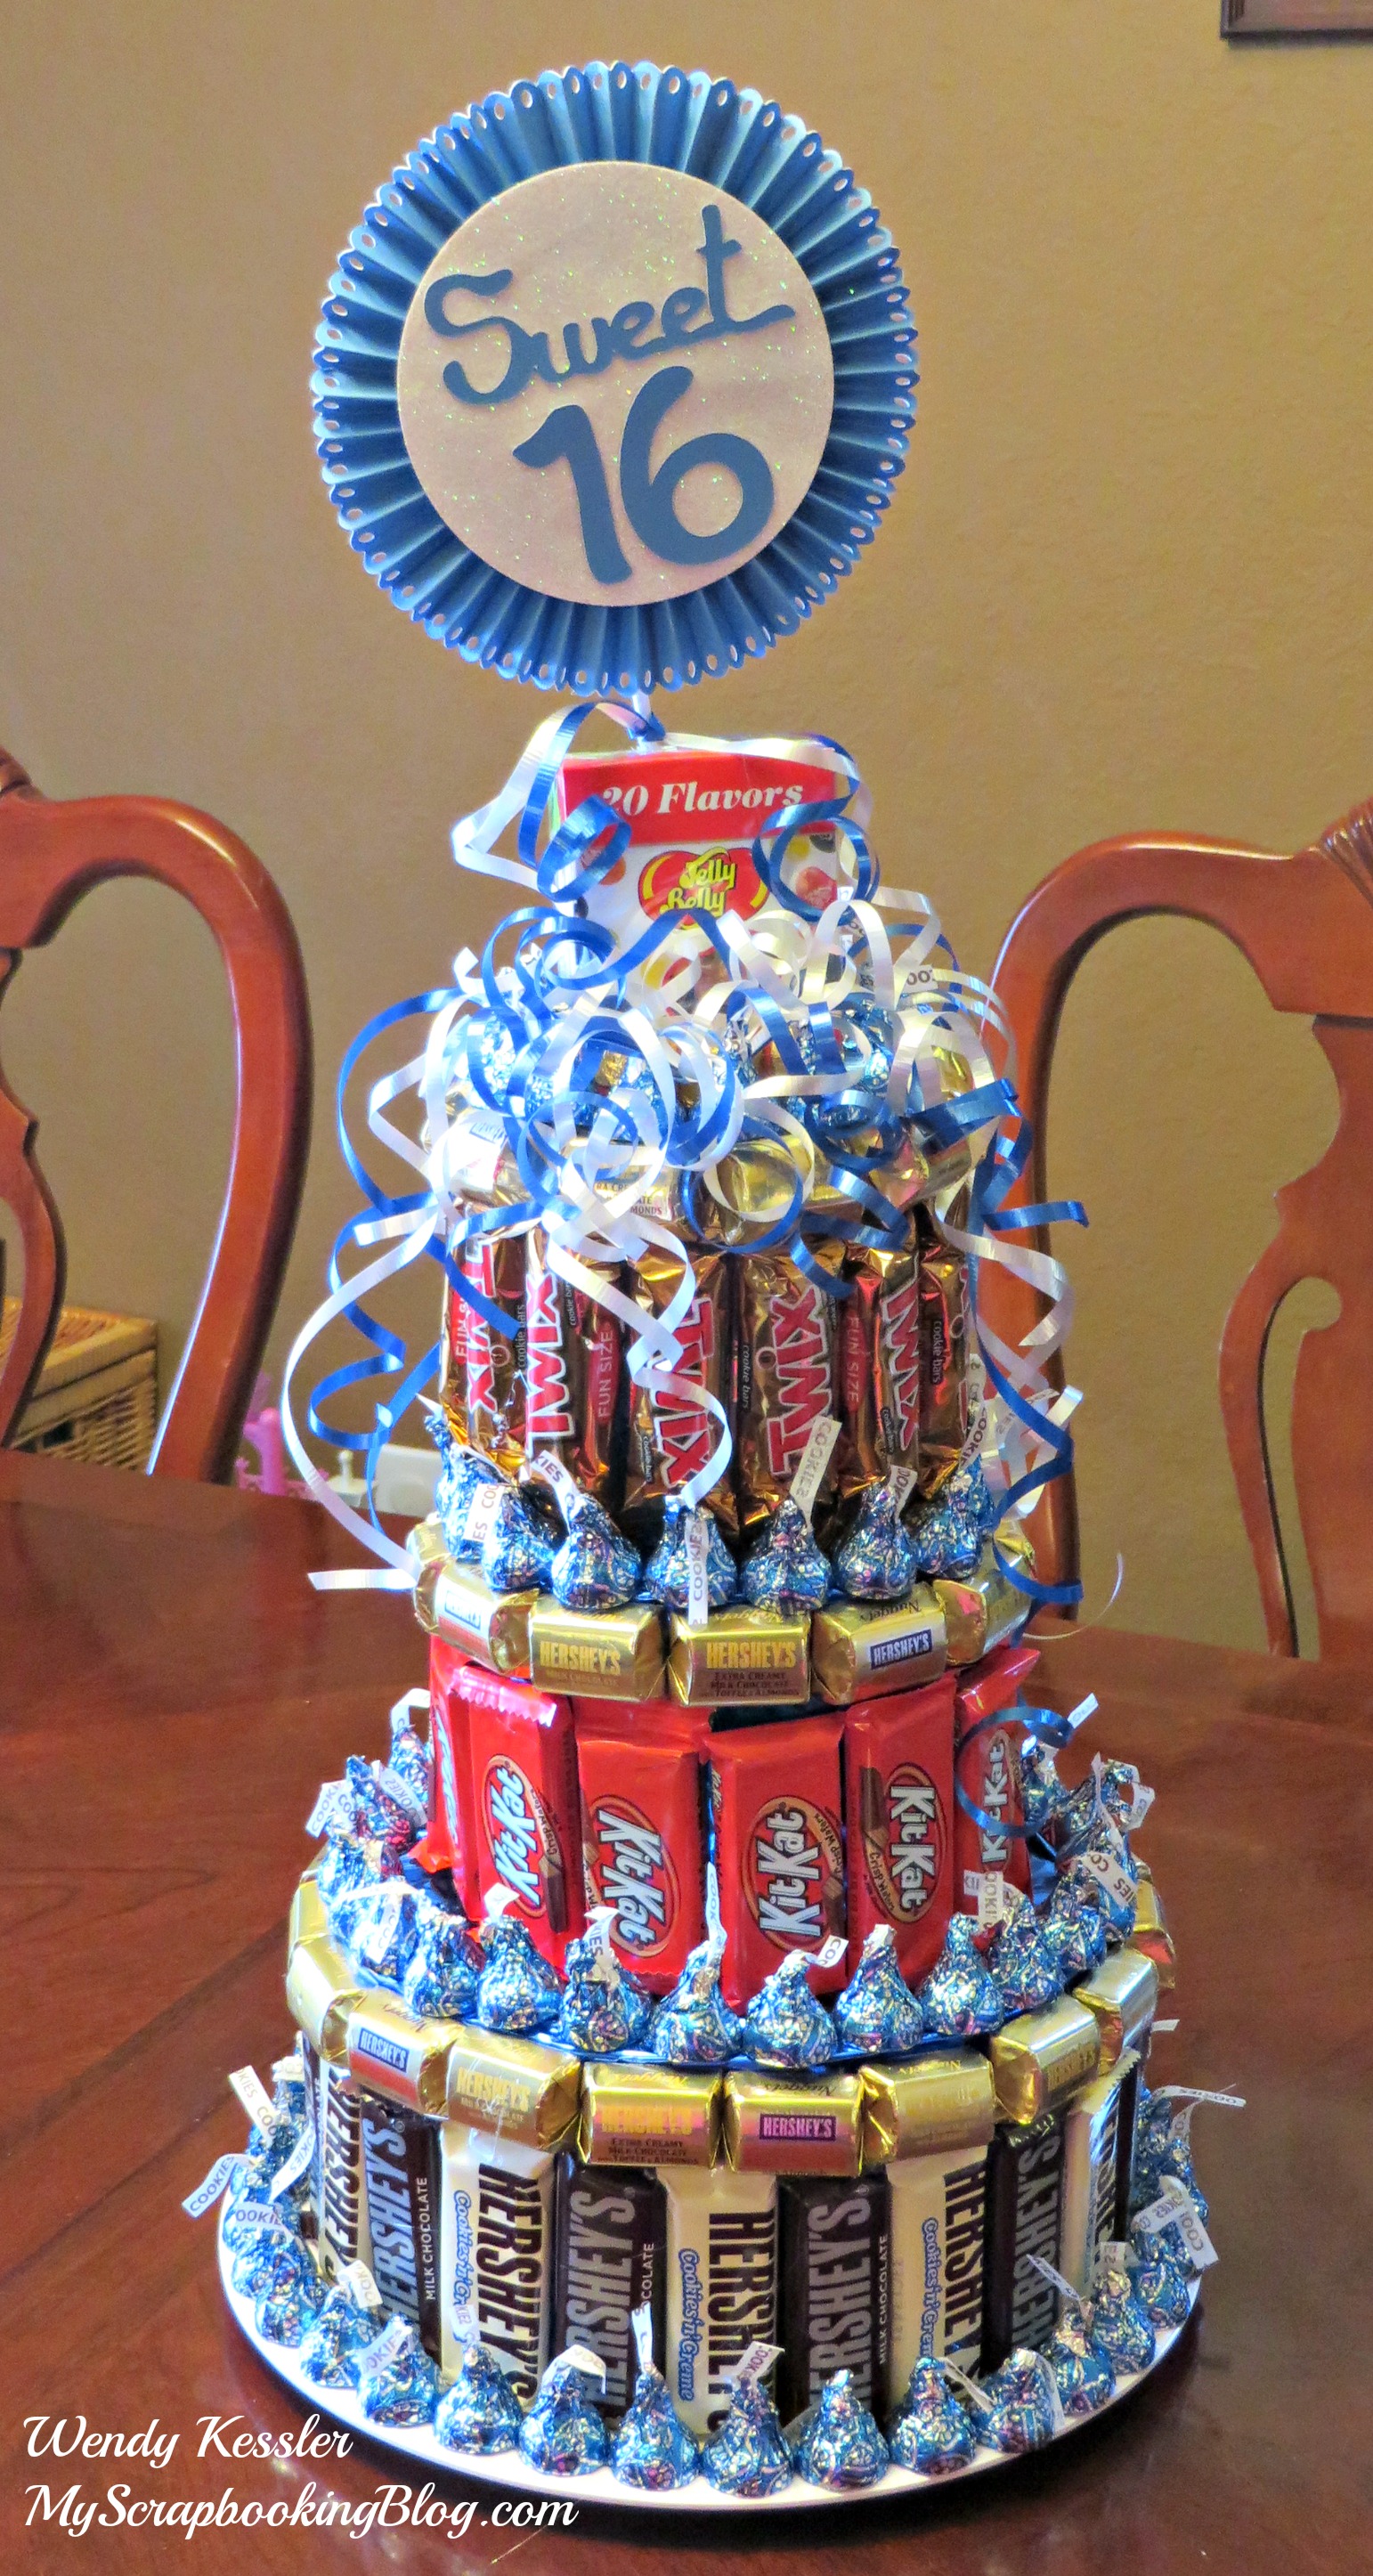
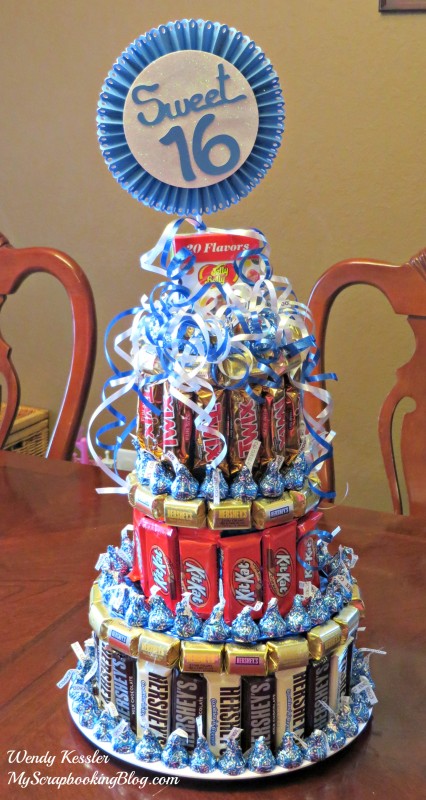
I made this for my daughter’s 16th birthday.  It was my first time making one so I thought I’d share some tips that I learned along the way.
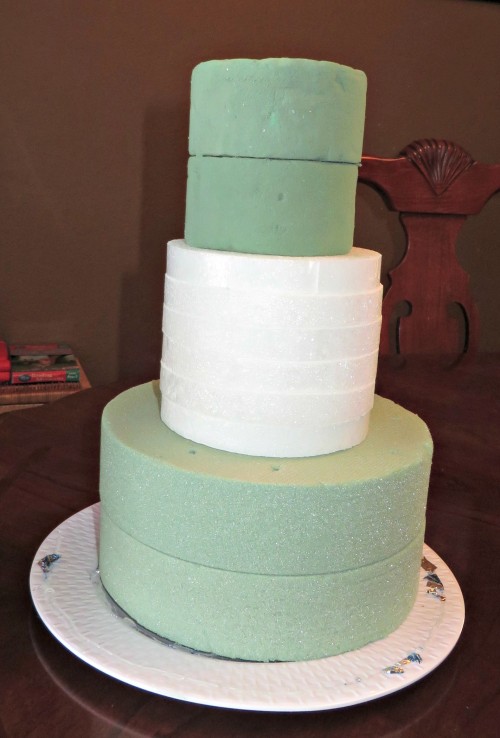 (As you can tell, the photo above is after the cake was taken apart and the base held up so I will be able to use the parts again.)
First is to go shopping.  I had an idea of what I wanted in my head but I wasn’t too picky.  I found foam pieces for the base at the Dollar Tree.  I knew this could be a spending part of the project so I just went with what I was able to get there.  I got a plate for the base, 2 large foam circles for the bottom (these had a hole in the center so I also filled the inside of this part of the cake with extra candy (a fun surprise!), 3 sets of 2 styrofoam circles, and a final set of 2 for the top.  So I ended up spending about $7 for the base of the cake.  I hot glued each section together (all of the same size) then I wrapped each section in wrapping paper.  I did this so that I could use the base for another cake in the future.  It also looks better and you don’t have to worry about covering every space with candy.
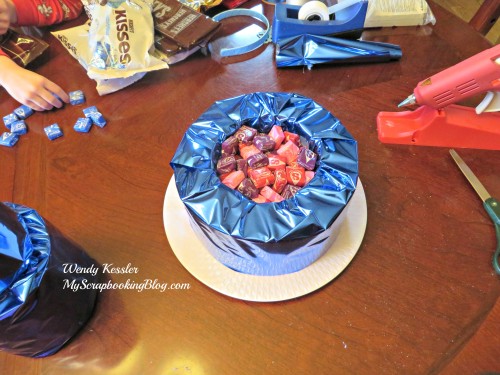
Notice the little hands on the side of this picture.  I filled the inside of the cake with Starbursts.  I kept the blue ones out in case I wanted to use them on the outside.  It was funny because the girls questioned – Where are the rest of them?  I just left it and didn’t say anything.  The birthday girl got a nice surprise days later when she was taking the cake apart and found more candy inside!
Supplies and tools I used for this project: Styrofoam base pieces for the cake (see above), plate or platter, candy (see above), Close to My Heart cardstock (any color), unknown white glitter paper, Cricut Type Candy Font, Cricut Ribbons & Rosettes cartridge, Cricut Craft Room, glue gun and glue sticks (I think I used about 3), 1-inch Glue Dots (I only used one to help hold the rosette in place, then I hot glued a cardstock circle on the back), Close to My Heart Bone Folder, Martha Stewart Scoring Board.
