Explosion Card with In Colors
Hello, lovely crafters!
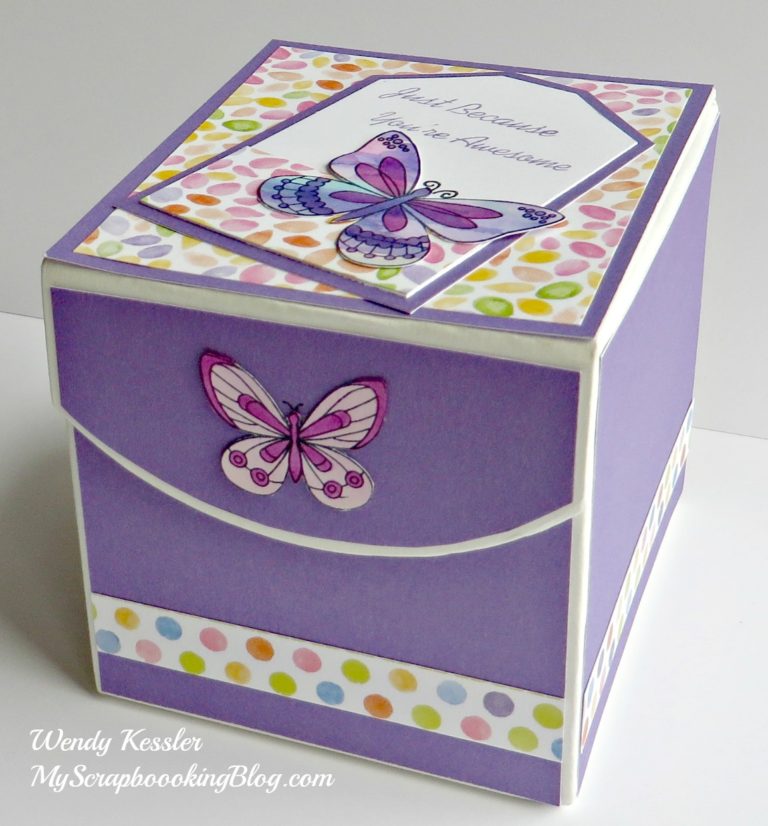
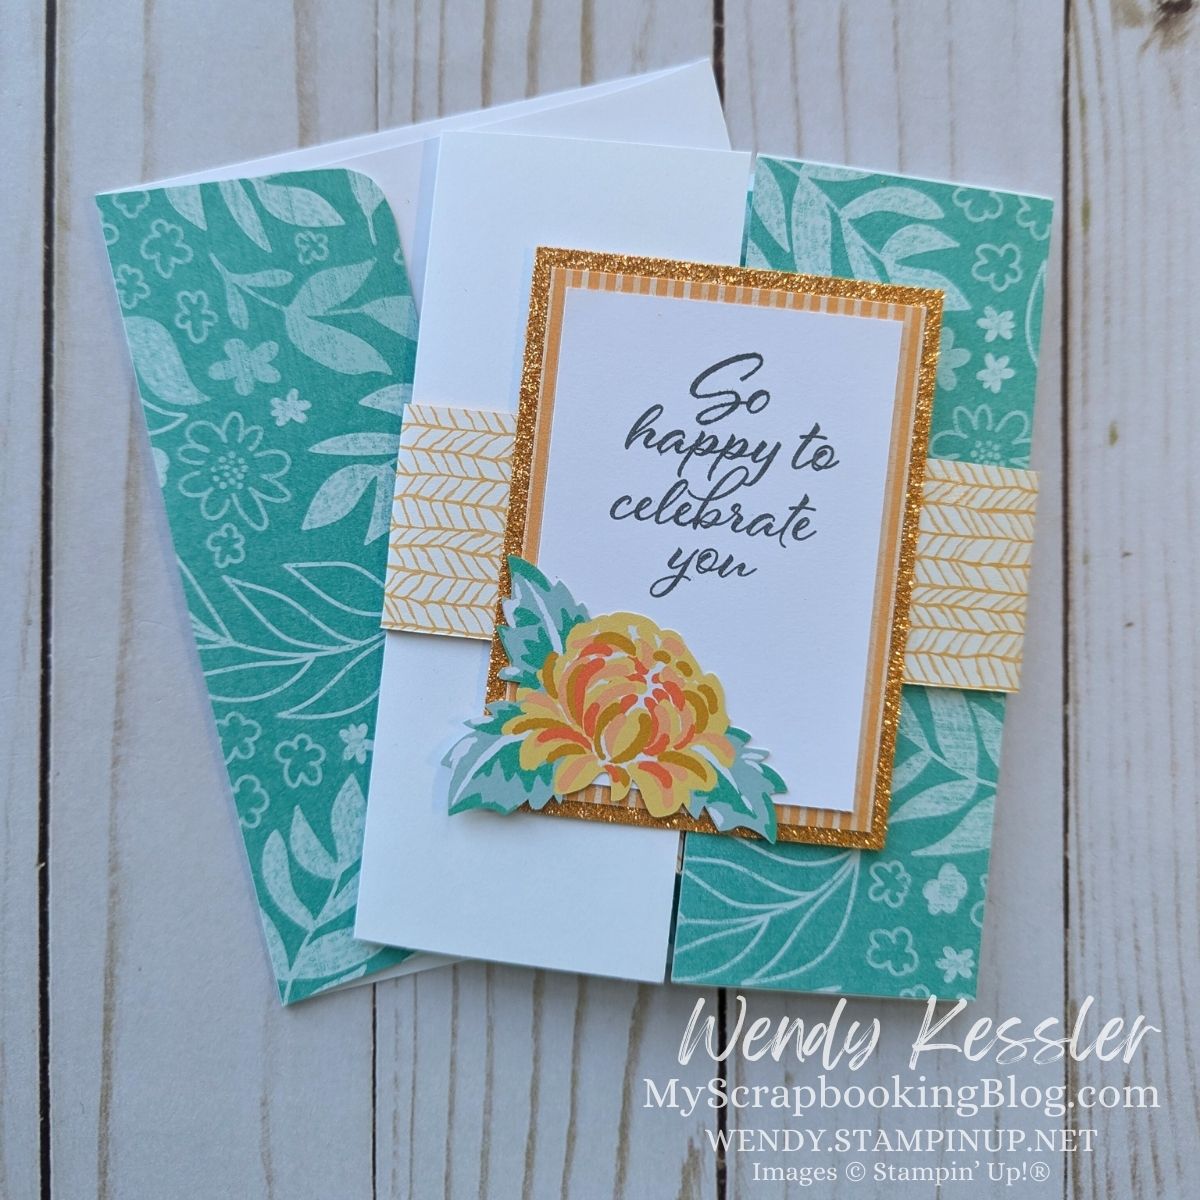
Today, I’m thrilled to guide you through the process of creating a spectacular explosion card using the vibrant Stampin’ Up! In Colors and a touch of ephemera magic. These interactive cards are a delightful surprise for recipients, as they burst open to reveal layers of creative goodness. Whether you’re crafting for a birthday, anniversary, or any special occasion, this explosion card is guaranteed to impress.
- Stampin’ Up! In Colors Designer Series paper
- Coordinating patterned paper (I used the May/June mix-in from CTMH)
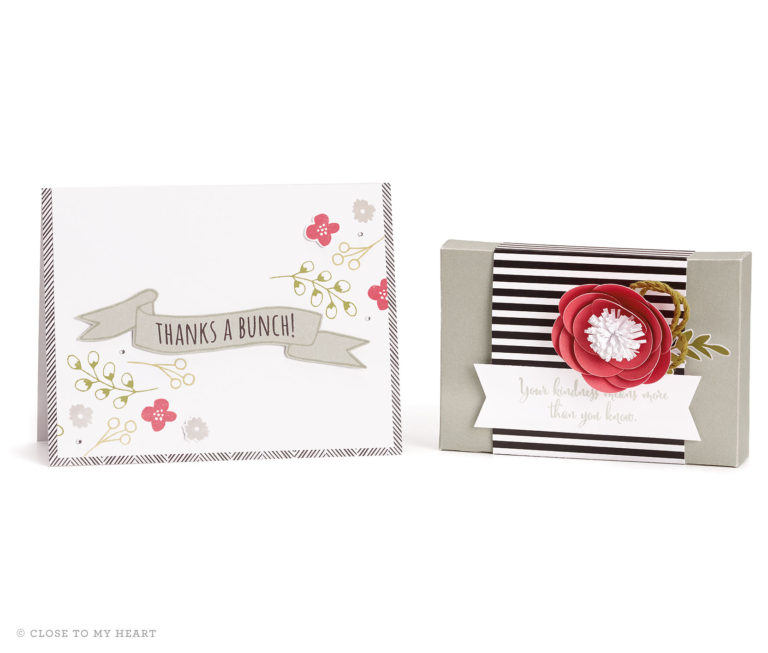
- Fully Flowering Mix & Match Ephemera
- Glue or double-sided tape
- Paper cutter
- Scoring board
- Embellishments (ribbons, sequins, etc.) to add if you wish
- Sentiment stamps and ink (I used Layering Leaves stamp set with black ink)
Step-by-Step Guide:
Step 1: Choose Your In Colors
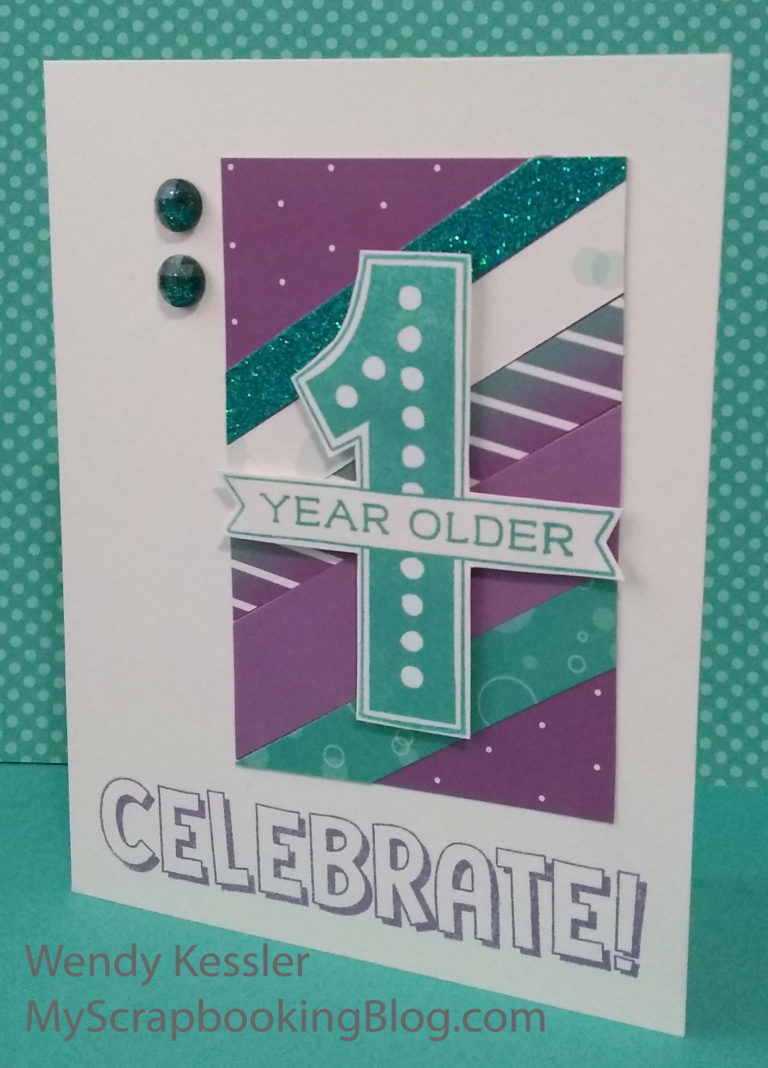
Stampin’ Up! In Colors provide a vibrant palette that changes annually. Select two or three colors that complement each other. For this card, I’m going with the current year’s In Colors: Summer Splash and Peach Pie.
Step 2: Prepare the Card Base
- Cut a piece of cardstock to 8 1⁄2” x 5 1⁄2”. This will serve as the base for your explosion card.
- Score your cardstock at 2 1⁄8” and 6 3⁄8” marks.
Step 3: Design the Explosion Section
- Cut your insert to 8″ x 4″.
- Score at 2″, 4″, and 6″. With the score lines vertical, now score from the top left corner to the bottom of the 4″, then from the bottom left corner to the top of the 4″. Again, with the (2-4-6) score lines vertical, score from the top right corner to the bottom of the 4″, then from the bottom left corner to the top of the 4″. These score lines with create two X’s.
- Fold on all the score lines to create your inside insert.
- On the very center square/diamond, add a stunning focal point using a large piece of ephemera or stamped sentiment. (2 5⁄8” x 2 5⁄8”)

Step 4: Embellish with Ephemera
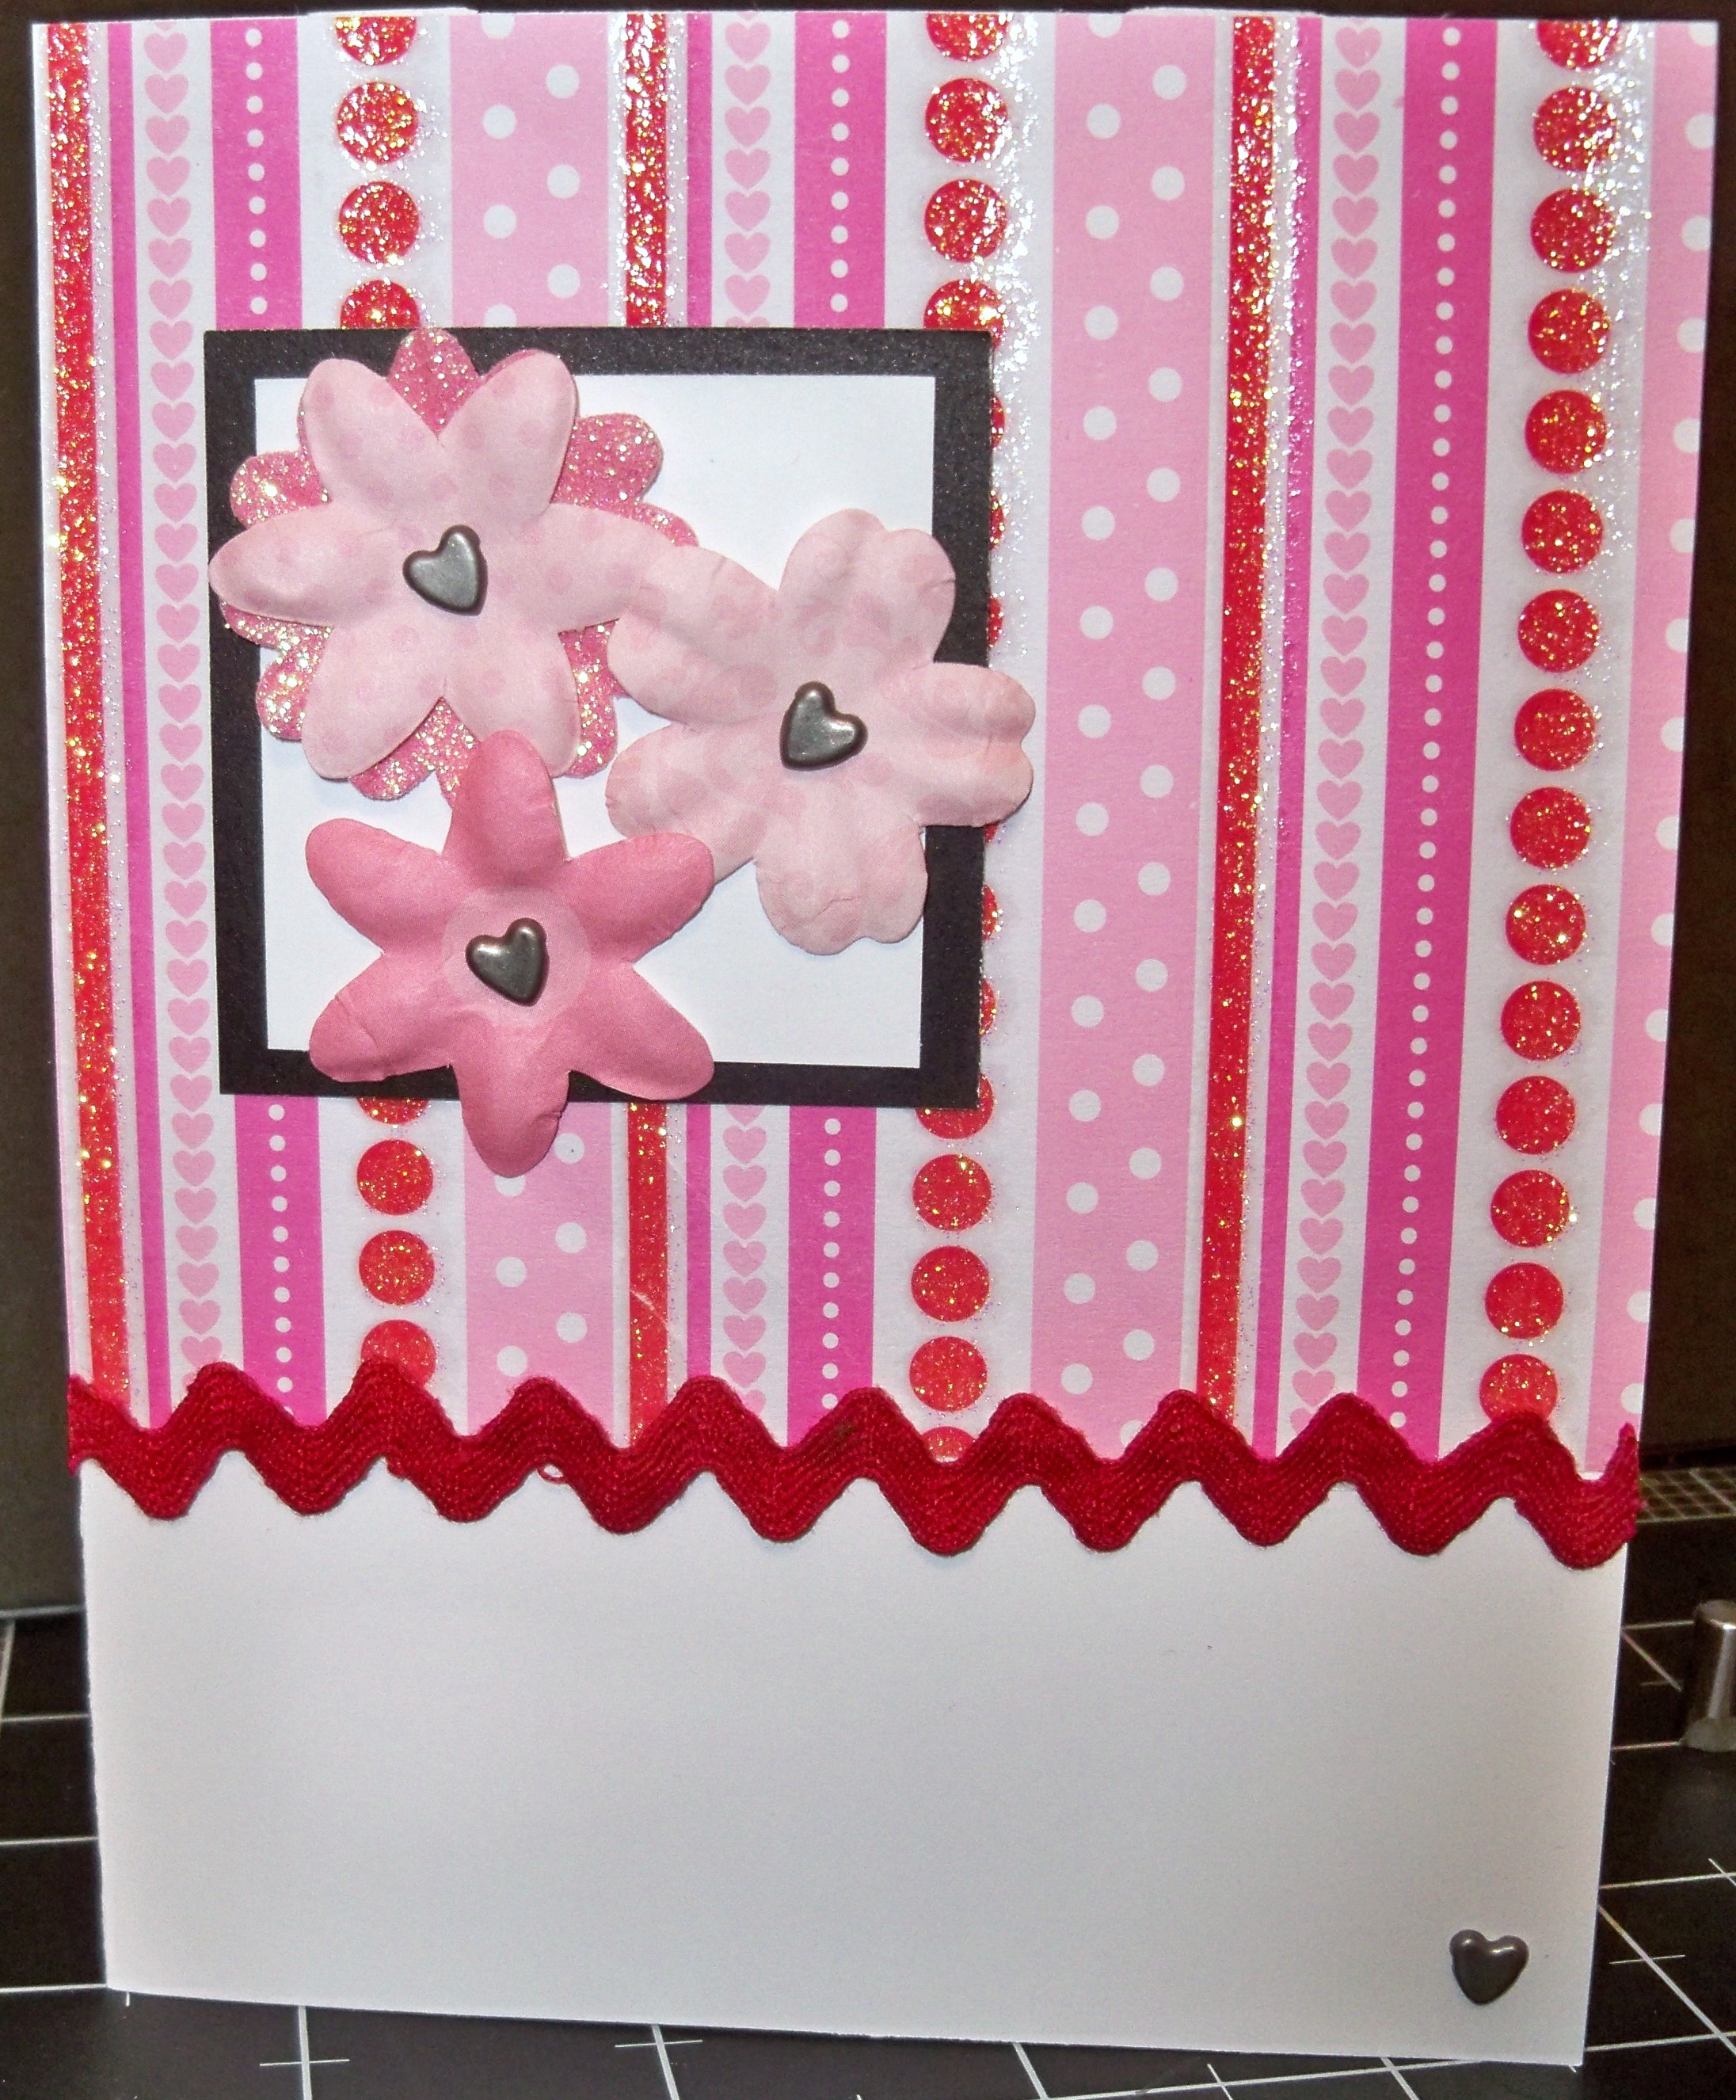
Ephemera adds an intricate dimension to your cards, otherwise you may choose to use flowers, butterflies, or other themed die-cuts. Layer them onto your patterned paper using foam adhesives to create a slight raised effect.
Step 5: Assemble the Card
- Add a patterned paper to the inside base of your card for added color. (4” x 5 1⁄4”)
- Attach the outside triangles of the insert to the inside side flaps of the card base. By attaching at the side instead of the back, the card will open and move easier.
- Cut an additional piece of paper measuring 12″ x 1 5⁄8” to create a belly band to hold the explosion card together.
- Adorn the outside with layered papers, and stamp a message.
Step 6: Final Touches
- Enhance with sequins or gems for a touch of sparkle if desired.
Tips and Tricks:
- Use contrasting colors for a more dynamic look within the card.
- Match your ink colors when stamping sentiments to tie the card’s entire look together.
With the unexpected pop of an explosion card and the richness of Stampin’ Up! In Colors, your creation will undoubtedly become a cherished keepsake. So grab your favorites, get creating, and don’t forget to share your masterpiece. Happy crafting!
Conclusion:
Start using this delightful project as a way to impress your friends and family. These explosion cards capture the joy and surprise of handmade creations while showcasing your stamping and papercraft skills. Enjoy crafting this unique card, and remember, the best part is that each one can be as distinctive as you are!
Happy Stamping!